
Pieces of jewellery make for eye catching subjects. These include precious metals and gems, polished enamel, and items made of quality porcelain and glassware, to name a few. Whether you are photographing them for your store or as an addition to your portfolio, you’ll just have to apply the same principles you use in other types of macro photography. The only difference with jewelleries is that you will have to deal with the added element of highly reflective surfaces and engravings. Because of this, a highly-controlled set-up will be essential.
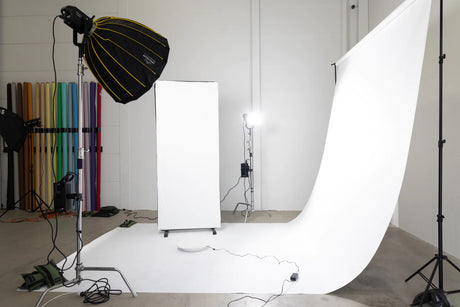
In choosing the background, you will have to consider one that will create contrast with the subject. They are almost invariably placed on a piece of black or dark blue velvet, which is one of the most light-absorbing materials in the world. Of course, this is not to say that you are prohibited from using white background. If you check out online stores, you’ll actually find some photos that were shot that way. Personally, I just find it more fitting to photograph such items on dark velvet. It’s not just for aesthetics, but for the sake of practicality as well. It is quite difficult, especially for beginners, to control the contrast when working on a white background. Some, however, can pull off using both approaches really well. See
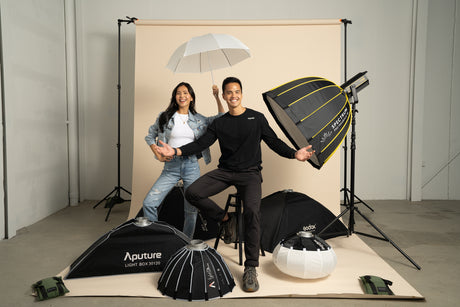
For the lighting, it is not advisable to shoot under natural light when working with jewellers since you will need a highly-controlled set up. Using LED with a light tent cube would be a much more preferable choice http://www.hypop.com.au/led-lighting-kits.html & http://www.hypop.com.au/hypop-80cm-product-photography-lighting-tent-kit-bonus-tripod.html. Products such as lighting kits for jewellery are specialised in a way that will enable you to minimise or even eliminate the need for editing. It is important to make sure that this lighting is used in conjunction with an aperture that is as small as possible to avoid depth-of-field problems.
Since you’ll be dealing with a reflective surface, you’ll also have the added work of eliminating reflections of yourself and the camera. A good way to keep the camera out of sight is to use a piece of dark charcoal-coloured heavy cardboard with a hole in it. You are going to mount it in between the camera body and lens. It will be able to throw a little shadow back into the nearest parts of the jewellery to the camera. To understand how it works, they can be compared to dark-light created by large black flat reflectors positioned on each side of the subject when photographing people and larger objects on a white infinity curve.
The next thing you’ll have to consider is something unique to jewellery photography. You will want to emphasise the engravings and etchings present on your subject. You can visualise it as photographing highly miniaturised ravines. Again, balance is important here when it comes to lighting. There will be lights positioned to the side of your subject and one will have to be more powerful than the rest. Your goal is to use just enough to create the shadows in the engraving. Remember to avoid creating deep shadows since they make details indistinguishable.
By now, you might have already realised how much of a balancing act it is doing this type of photography. Great control of various factors is essential. Yes, it can be quite hard, but I assure you it will be worth it once you get it right and see that perfect image you were hoping for.
Now, it is also important to note that like in any macro image, depth-of-field can be critical in jewellery photography. Let me just restate what I have written in other articles regarding that topic. To double the depth-of-field, you just have to halve the lens aperture. You will also know that part of the image is out of focus when you are shooting the subject just a few inches deep from the plane of the camera.
Let me also remind you about a few simple rules that will come in handy when you want to achieve a certain effect. First, you have to know that the smaller and closer the subject is to the camera plane, the shorter the total distance from the front to the back of the in-focus area. Next, greater light intensity will allow you to close the shutter aperture to increase the depth-of-field. Lastly, the distance from the central point of focus to the front of the in-focus range is half that of the distance to the back of the in-focus range.
Yes, it may seem a little complicated and you may have to inevitably face a lot of limitations. That is actually a fact that holds true for any form of macro photography. But hey, it is through these limitations that you will be able to exercise your versatility, creativity, and skills to create the best effect that will be able to truly capture beauty.